Exchange Tips: Sending a mail merge as a Shared Mailbox
Written by Connor Dean | Modern Workplace Specialist

Intro
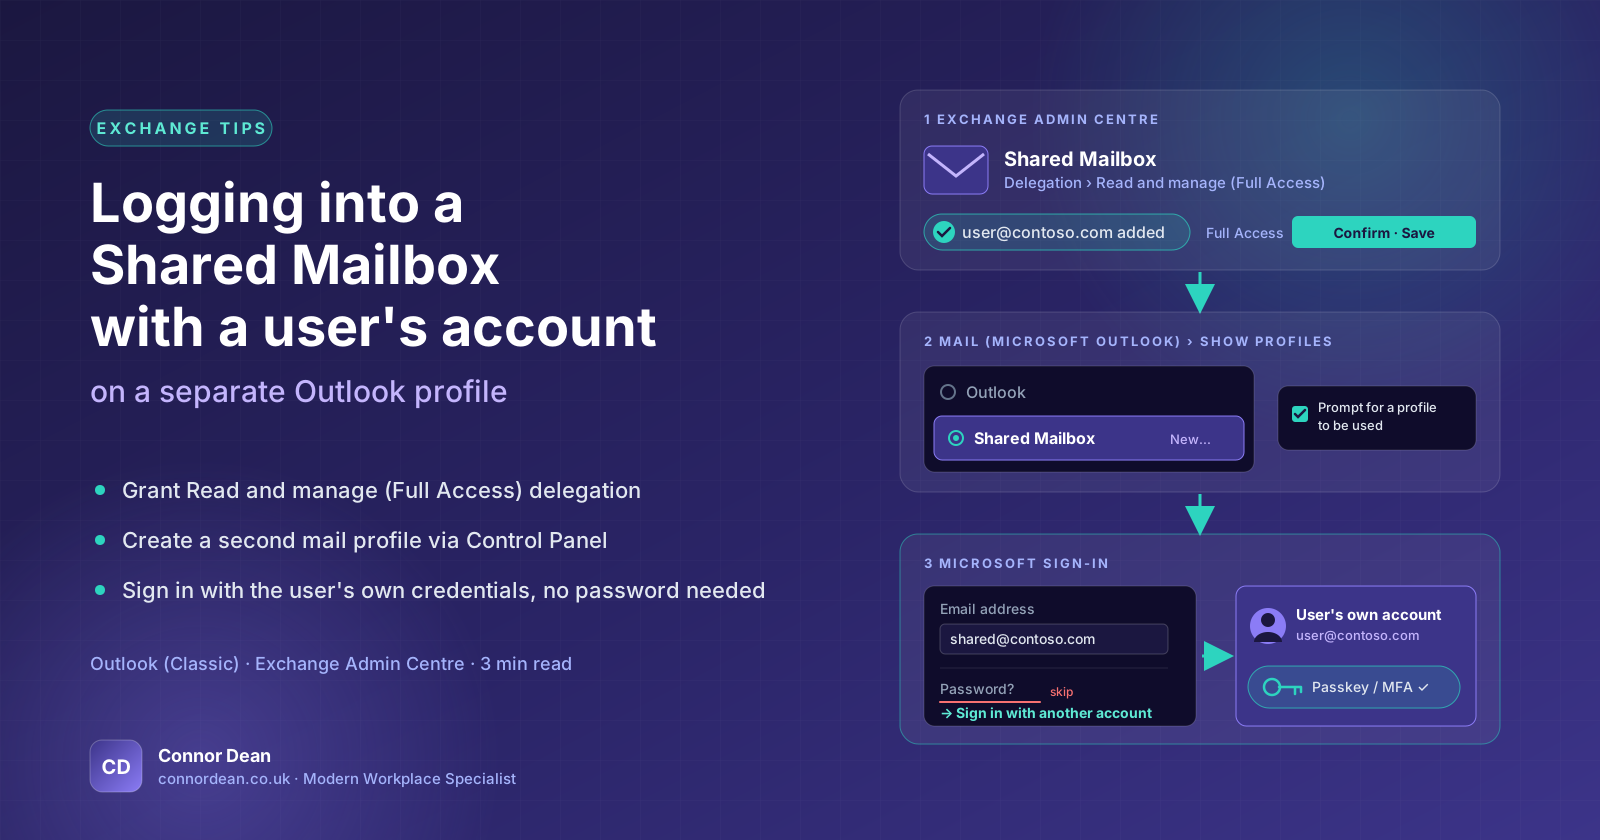
This article slightly follows up on a previous around logging into a Shared Mailbox as a user.
I'll outline how to send a mail merge as a Shared Mailbox via a profile we created earlier in this article:
Exchange Tips: Logging into a Shared Mailbox with a user's account on a separate profile
Creating your mail merge
Start by ensuring you have your mail merge setup.
This involves typically:
A Microsoft Word document, with the content we wish to send our address list.
A list of people to be emailed. Either in an Excel Workbook or a text file.
To prepare your workbook for sending with Mail Merge please see this helpful Microsoft guide: Prepare your Excel data source for a Word mail merge | Microsoft Support
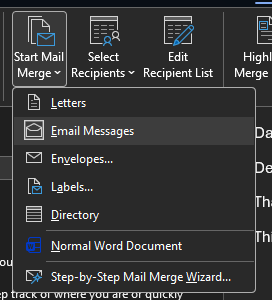
Ensure that you have started your mail merge by specifying the type, we've chosen Email Messages.
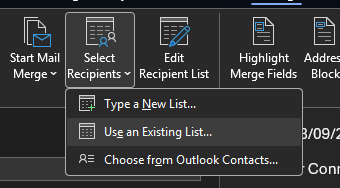
Configure your document and ensure the recipient list has been added.
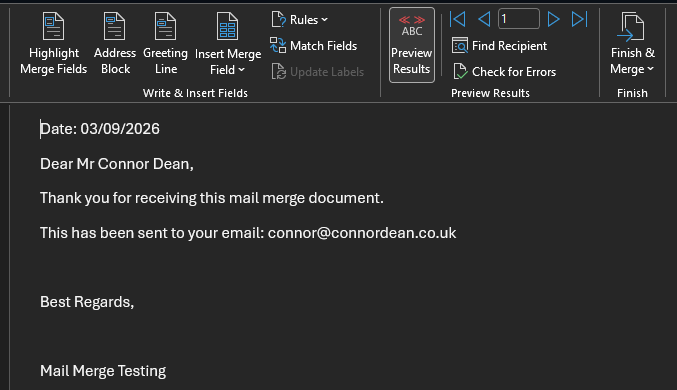
Finally, once happy with your content, preview via the 'Preview Results' button.
Starting your mail merge
Once happy with your document and address list. Click on 'Finish & Merge'.
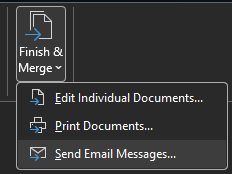
Then select 'Send Email Messages...'
Within the Merge to Email pop up box, ensure that the To is configured to the email header within your recipient list. Additionally, provide a subject line.
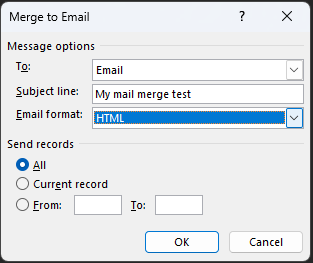
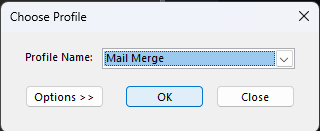
After clicking 'OK' the Outlook (Classic) profile prompt will appear. Select the Profile you wish to send as, we will be using my Mail Merge profile, click 'OK'.
It's likely if you don't have the profile open then it won't open the Outlook client, feel free to open Outlook (Classic) to see the results.
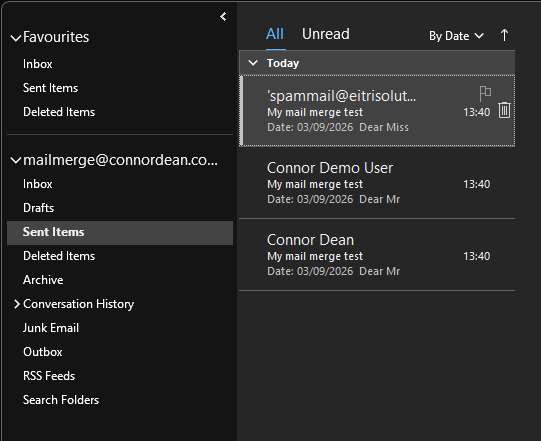
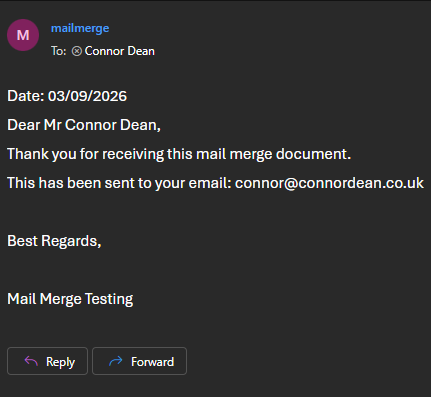
And the recipient would see this.
Final Thoughts
Ensuring the user has both Send as and Read and Manage permissions is key to ensuring this works properly.
Good luck!